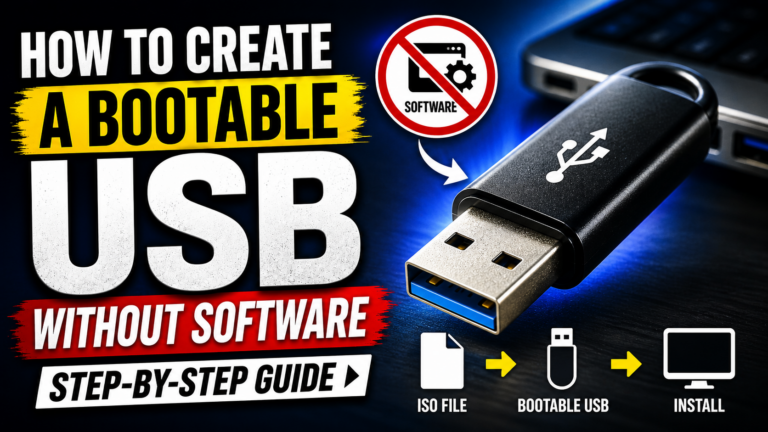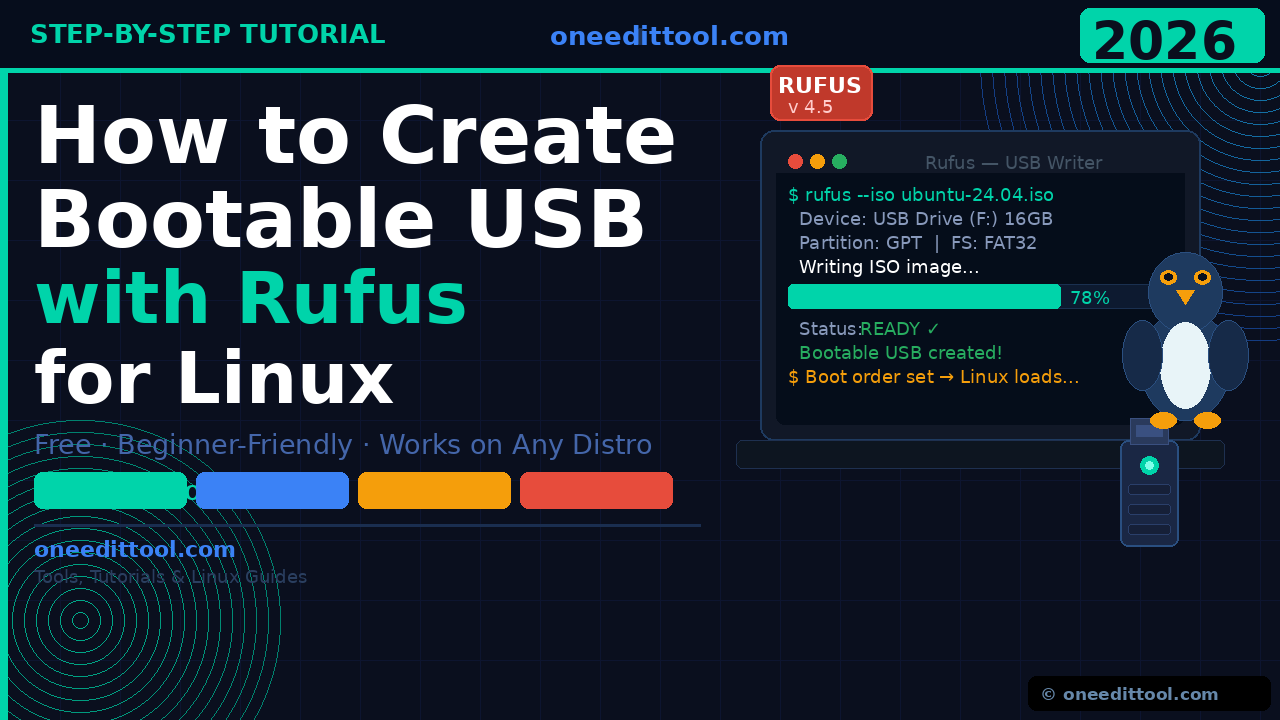
How to Create a Bootable USB Using Rufus for Linux
If you’ve ever wanted to try or install Linux on your computer, the very first thing you need is a bootable USB drive. And the easiest way to make one on Windows is by using Rufus — a free, lightweight tool that gets the job done in minutes.
In this guide, you’ll learn exactly how to create a bootable USB using Rufus for Linux, step by step. Whether you’re going for Ubuntu, Linux Mint, Fedora, or any other distro, this tutorial has everything you need. Let’s get started.
What Is Rufus?
Rufus is a free, open-source Windows application that lets you turn a regular USB drive into a bootable installer using an ISO file. It’s small (under 1.5 MB), requires no installation, and supports virtually every Linux distribution.
Think of it like a “burner” for USB drives. You give it your Linux ISO, plug in a USB stick, click Start — and you’re done.
Note: Rufus is Windows-only. If you’re already on Linux or macOS, use balenaEtcher instead.
What You’ll Need
Before you begin, gather these four things:
- A Windows PC — Windows 7, 8, 10, or 11
- A USB drive — At least 8 GB (16 GB recommended)
- A Linux ISO file — Download from your distro’s official website
- Rufus — Free download from rufus.ie
Warning: Creating a bootable USB will erase everything on the USB drive. Back up any files on it before you proceed.
Step-by-Step: How to Create a Bootable USB Using Rufus for Linux
Step 1 — Download Your Linux ISO File
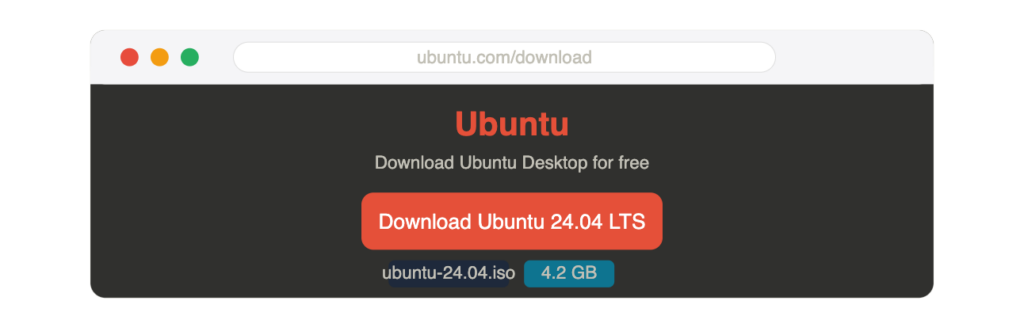
Go to the official website of your chosen Linux distribution. For Ubuntu, visit ubuntu.com/download. Pick the LTS version (most stable for beginners) and download the ISO file. It’s usually 1–4 GB, so give it a few minutes.
Step 2 — Download and Open Rufus
Go to rufus.ie and download the latest version. No installation needed — just double-click the .exe file. Click “Yes” if Windows asks for permission. Rufus opens instantly.
Step 3 — Plug In Your USB Drive
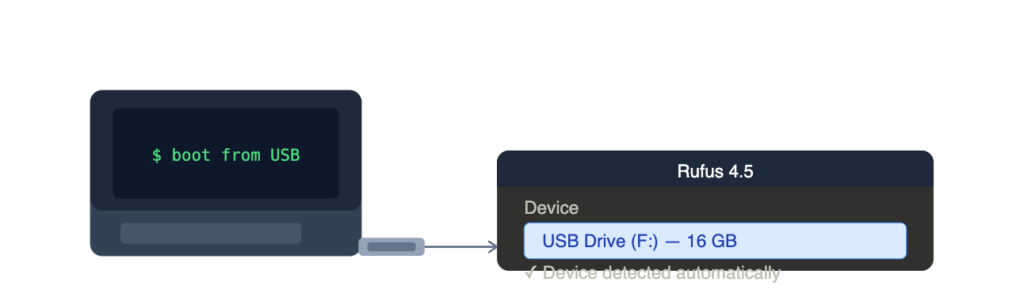
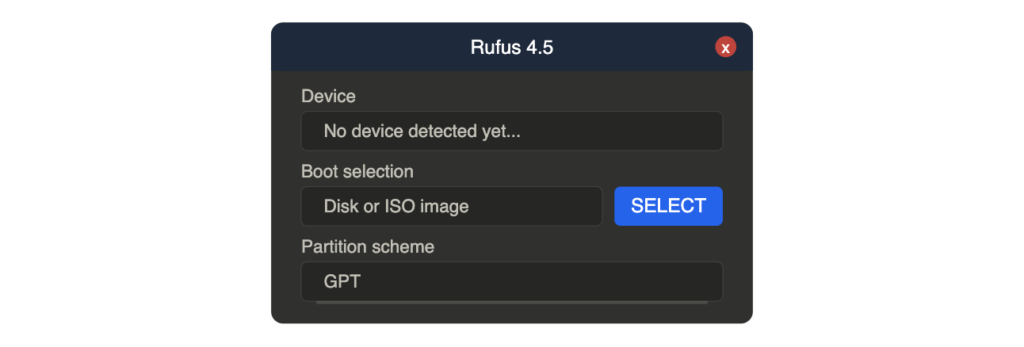
Insert your USB drive into a free port. Rufus will detect it automatically in the “Device” dropdown at the top. If you have multiple drives plugged in, make sure you select the right one.
Step 4 — Select the Linux ISO File
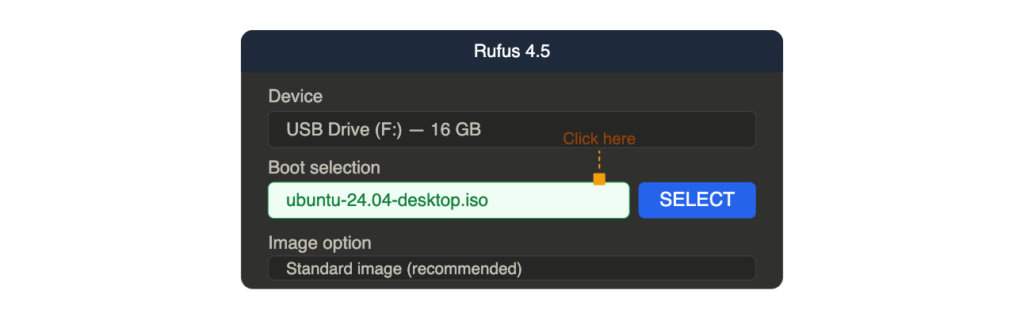
Click the SELECT button next to “Boot selection.” A file browser opens — navigate to your downloaded ISO and click Open. Rufus loads the file and auto-fills most settings. Make sure “Image option” is set to Standard image.
Step 5 — Choose the Partition Scheme
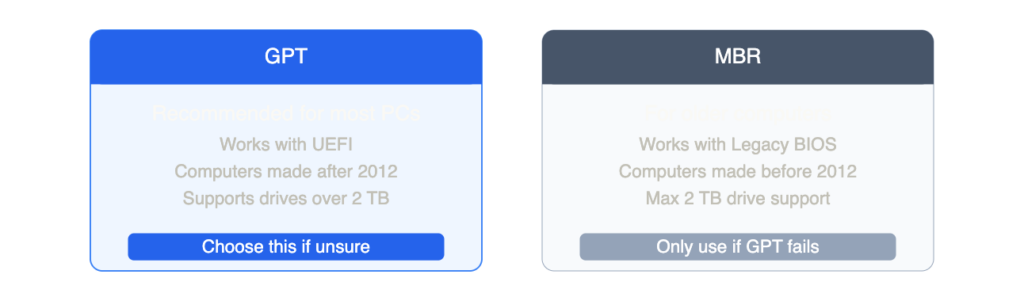
Under “Partition scheme,” select:
- GPT — for modern PCs with UEFI (most computers after 2012)
- MBR — for older PCs with Legacy BIOS
When in doubt, pick GPT. It works for the vast majority of systems.
Step 6 — Click “START”

Double-check your USB drive is selected and the ISO is loaded. Click the START button. A dialog will ask which write mode to use — always choose “Write in ISO Image mode (Recommended)” and click OK. Confirm the warning that your USB will be wiped.
Step 7 — Wait for the Process to Finish

Rufus will now write the Linux ISO to your USB drive. You’ll see a green progress bar. This takes 5–15 minutes depending on your USB speed. Do NOT remove the drive during this process. When it’s done, the status bar will show “READY” in green.
Step 8 — Eject and Boot from Your USB
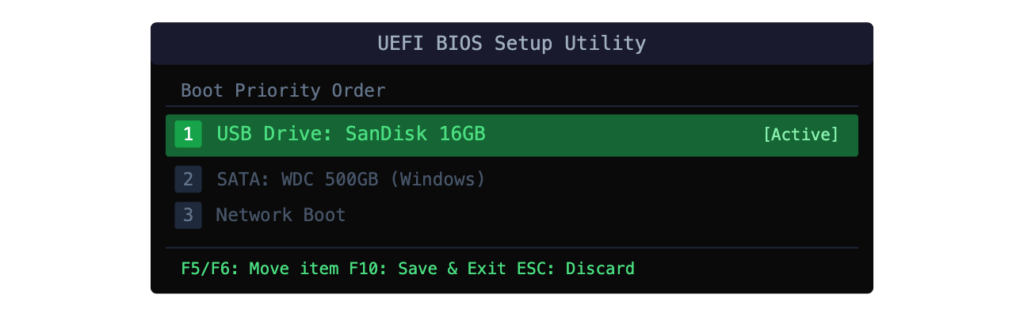
Once Rufus shows “READY,” close it. Right-click the USB drive in File Explorer and click Eject. Then restart your PC, enter BIOS (press F2, F10, F12, or Delete at startup), and set USB as the first boot device. Save and exit — Linux will boot from the USB.
Common Errors and How to Fix Them
| Error | Likely Cause | Fix |
| USB not detected | Wrong/loose port | Try a different USB port, restart Rufus |
| ISO image is invalid | Corrupted download | Re-download the ISO, verify SHA256 checksum |
| Write protected error | Hardware lock switch on | Flip the lock switch on the USB body to off |
| PC won’t boot from USB | Boot order wrong | Enter BIOS, move USB to first in boot order |
| “BOOTMGR is missing” | Wrong partition scheme | Recreate USB with correct GPT/MBR setting |
| Secure Boot error | UEFI blocking unsigned OS | Disable Secure Boot in BIOS settings |
Tips for Beginners
- Use LTS versions — Ubuntu 24.04 LTS or Linux Mint 22 are the friendliest for first-timers.
- Verify the ISO checksum — Download the SHA256 hash from the official site and verify it to confirm the file isn’t corrupted.
- Use a USB 3.0 drive — Much faster write speeds, and Linux boots noticeably quicker from it.
- Try “Live” mode first — Boot from the USB and select “Try Linux” before installing. You can explore the OS without touching your hard drive.
- Back up your data — Before installing Linux on your PC, always back up important files to external storage or the cloud.
- Keep the USB — After installing, your bootable USB becomes a rescue tool if anything goes wrong with your system.
Conclusion
That’s all there is to it. Creating a bootable USB using Rufus for Linux is one of the easiest things you can do as a beginner, and now you have everything you need to get it done. From downloading the ISO to watching Rufus hit “READY” — the whole process takes less than 20 minutes.
Once your USB is ready, you can install or try any Linux distribution you like. It’s a great way to explore Linux risk-free, and Rufus makes the whole thing completely painless.
Got questions? Check the FAQs below.
FAQ
Q: Can I use Rufus to make a bootable USB on a Mac? No — Rufus is Windows-only. Use balenaEtcher on macOS instead. The process is nearly identical.
Q: Will making a bootable USB delete my PC’s files? No. Rufus only wipes the USB drive you select. Your computer’s hard drive and files are completely untouched.
Q: Which is better — GPT or MBR for Linux in Rufus? GPT with UEFI is the right choice for most modern computers (post-2012). Only use MBR if your PC has an older Legacy BIOS.
Q: How do I know if the bootable USB worked? Restart with the USB plugged in, set it as first boot in BIOS, and if the Linux boot menu appears — it worked perfectly.
Q: Can I reuse the USB drive after installing Linux? Yes. Format it back to FAT32 using Windows Disk Management or Rufus itself, and it works as normal storage again.